Well applied eyeliner can change the overall shape of your eyes, and accentuate them completely. Here are 6 tips from makeup artists on how to improve your winged eyeliner application today!
Whether you are a makeup novice or even a makeup artist yourself, putting on eyeliner (especially winged eyeliner) can be extremely intimidating. On application, it can easily become too thick, too thin, too long, too short, or just too darn messy! For makeup lovers, being able to do the perfect winged liner or ‘cat eye’ can really improve your makeup game. Well applied liner can change the whole shape of your eye, and accentuate them completely. Here are 6 tips from makeup artists on how to improve your winged eyeliner application today!
1. Make Sure you have a Steady Hand
When applying any kind of eyeliner, it is absolutely essential that your wrist is steady. Makeup artist Geoffrey Rodriguez states that one should place their elbow on a table next to where the mirror is situated. Rodriguez states that this will ensure stability, control, and a flowing motion, and therefore easier wrist movement, which will in turn create a line free of any wobbles!
2. Use a Stencil
If you are new to the winged eyeliner game, there are some tools that can help make your life easier. For example, one can use an eyeliner stencil when applying eyeliner. A stencil in the shape of the wing you want to create (varying in length and thickness) is placed on the eyelid, and the eyeliner is applied alongside it. If you don’t have a stencil or find that they don’t work for you, you can also use regular sticky tape! Celebrity makeup artist Victoria Styles recommends placing the tape on your bottom lash line and pointing them diagonally upwards towards your temples or the tail end of your brow. Make sure that your sticky tape is quite sticky for a sharp and precise line. Once the stencil is set in place, you can place the eyeliner inside it.
3. Use the Dot Method
The dot technique is seen as somewhat of a hack for applying eyeliner. This technique is a way of mapping out exactly where you would like your eyeliner to go. Makeup artist Eimear McElheron states that the best way to do this trick is to start by placing a dot at the corner of your eye, then a dot at the start of your iris, a dot at the start of your pupil, one at the end of your iris, one where the white of your eye ends, and one at the outer corner of your eye that curves upwards. Once this is done, connect the dots starting from the dot at the tail end of your brow, and you have got your wing! Fill in the liner to make it solid.
4. Do a Rough Draft
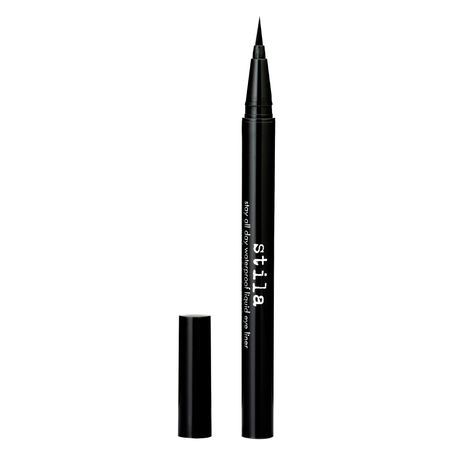
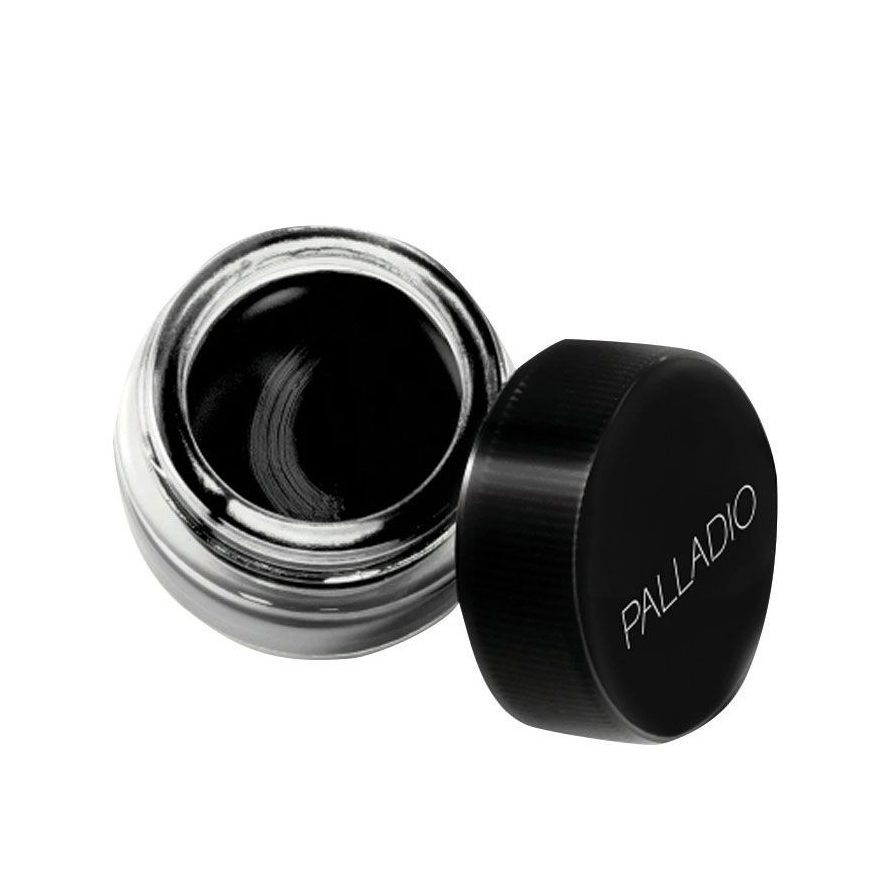
As winged eyeliner can get quite messy, makeup artist Erin Parsons suggests sketching your eyeliner on first with a lighter eyeliner pencil. This will allow you to map out your perfect wing and erase it easier if you make a mistake. Once you have got your shape down and are confident, you can layer the liquid over it. You can use either a pen or a gel eyeliner. We recommend the Palladio Gel Eyeliner, and the Stila Stay All Day Waterproof Eyeliner pen. Some makeup artists, including Kim K’s makeup artist Mario Dedivanovic, suggest using gel eyeliner as it is a bit more forgiving and therefore might be easier to work with.


5. Wing it Out
Once you are more confident with your winged eyeliner technique, you can try it freehand. Makeup Artist Bobbi Brown suggests making a line from the outer corner of your eye upwards toward your temple or the tail of your brow. Rather make the line shorter at first, and lengthen it later. In this way, you are basically extending your bottom lash line diagonally outwards and upwards. Connect this line back to your lash line by drawing it downwards to meet the end of your iris, and fill the space in. You have got your wing! Draw a thin line from the inner corner of your eye that connects to the wing to finish the eyeliner.
6. Clean up with Concealer or Makeup Remover
Once you have applied your winged eyeliner (hopefully successfully!) you might want to clean it up a bit or make it more precise. Makeup artist Cher Webb recommends putting some of your favourite concealer on a small brush and applying it straight under the line to define and clean up the wings. If you would prefer, you can also dab some makeup remover on a small brush and erase some of the eyeliner that way too.
Once you have got your winged eyeliner down, the possibilities are endless. You can experiment with different colours, shapes, and even more lines! Practice makes perfect, and with these tips from the professionals at your disposal, you are bound to crush the eyeliner game in no time!
